

How to totally NAIL a sparkler exit!


Hey there lovely readers! Today I’ll be offering some tips to BOTH couples and photographers on how to nail the perfect sparkler exit!
Sparkler exits are my favorite, especially in the summer! Whether you’re incorporating a sparkler exit during your sendoff, as you walk down the aisle for the first time with your partner or as a fun backyard activity, read on to discover how to totally NAIL your sparkler exit photos!

Make sure to purchase REAL wedding sparklers that are at least 12 or 14 inches long. These sparklers will burn for at least 60 seconds (plenty of time for a sparkler exit!) and will not smoke. Using regular sparklers from a fireworks stand is a BAD IDEA, as these sparklers go out quickly and will SMOKE everywhere, causing the photo to be ruined!
Talk with your photographer about the exit beforehand, including when you’d like to do the exit, where you’d like to do the exit, and who will be involved. It’s also a great idea to ask your photographer if they’ve ever done a sparkler exit before and which lighting method they’ll be using (High ISO, Flash, Ambient Light or something else!). Look through your photographers portfolio to find your favorite sparkler exits that they’ve captured, and explain that you are hoping for a similar look!
Be OPEN to doing an earlier, or fake exit, if you notice guests are leaving earlier. When coordinated properly with your photographer, DJ and venue coordinator, a fake exit can be a great way to get people excited about getting up on their feet, lighting a sparkler and then returning to the dance floor!

4. Walk SLOW and keep your head up, looking at your partner and smiling— brides, consider wearing flats or a cute pair of bridal sneakers (such as these! ) during the exit so you feel comfortable walking, dipping for a kiss or jumping around!
5. Make sure to STOP in the middle of the exit tunnel/line to do a nice, slow kiss (with a dip, if you’re feeling up for it!) and then stop again at the end of the line. This will allow the photographer to have two separate perspectives/looks.
6. If there’s time and you’re up for it, go through the line again for a second time, switching it up and doing something else during your exit (such as a twirl, funny poses, the Scarn Dance from the Office, etc.)
7. ENJOY your exit and TAKE IT IN! This is so important. Be present during this moment and really relax and trust that your photographer will make you look amazing!


Do a sparkler exit as a second shooter, at least half a dozen times so that you feel comfortable assessing your light and understanding how to properly shoot in manual (ISO, Shutter Speed, Aperture and Kelvin Scale) depending on the situation.
Decide on your lighting strategy! There are THREE different ways to light a sparkler exit scene:
Option One- Adjusting ISO- If there’s plenty of light because the sparkler exit is happening during the day, such as at sunset or blue hour, you can light the photo like any other photo, just keeping in mind your shutter speed since the couple will be moving. Additionally, if it’s night time but there’s a good light source (such as a streetlight, lights from the venue, headlights, etc.) and you are able to focus with a higher ISO, you can just adjust the ISO to get the light that you want. However, BE CAREFUL as most full frame cameras will have significant grain around 10000 ISO, which will affect the editing process. The photos below were taken without speedlights or off camera flash.

F Stop 1.8, ISO 1600, SS 250, Kelvin 5500

ISO 200, F stop 2.2, Shutter Speed 250, Kelvin 7000
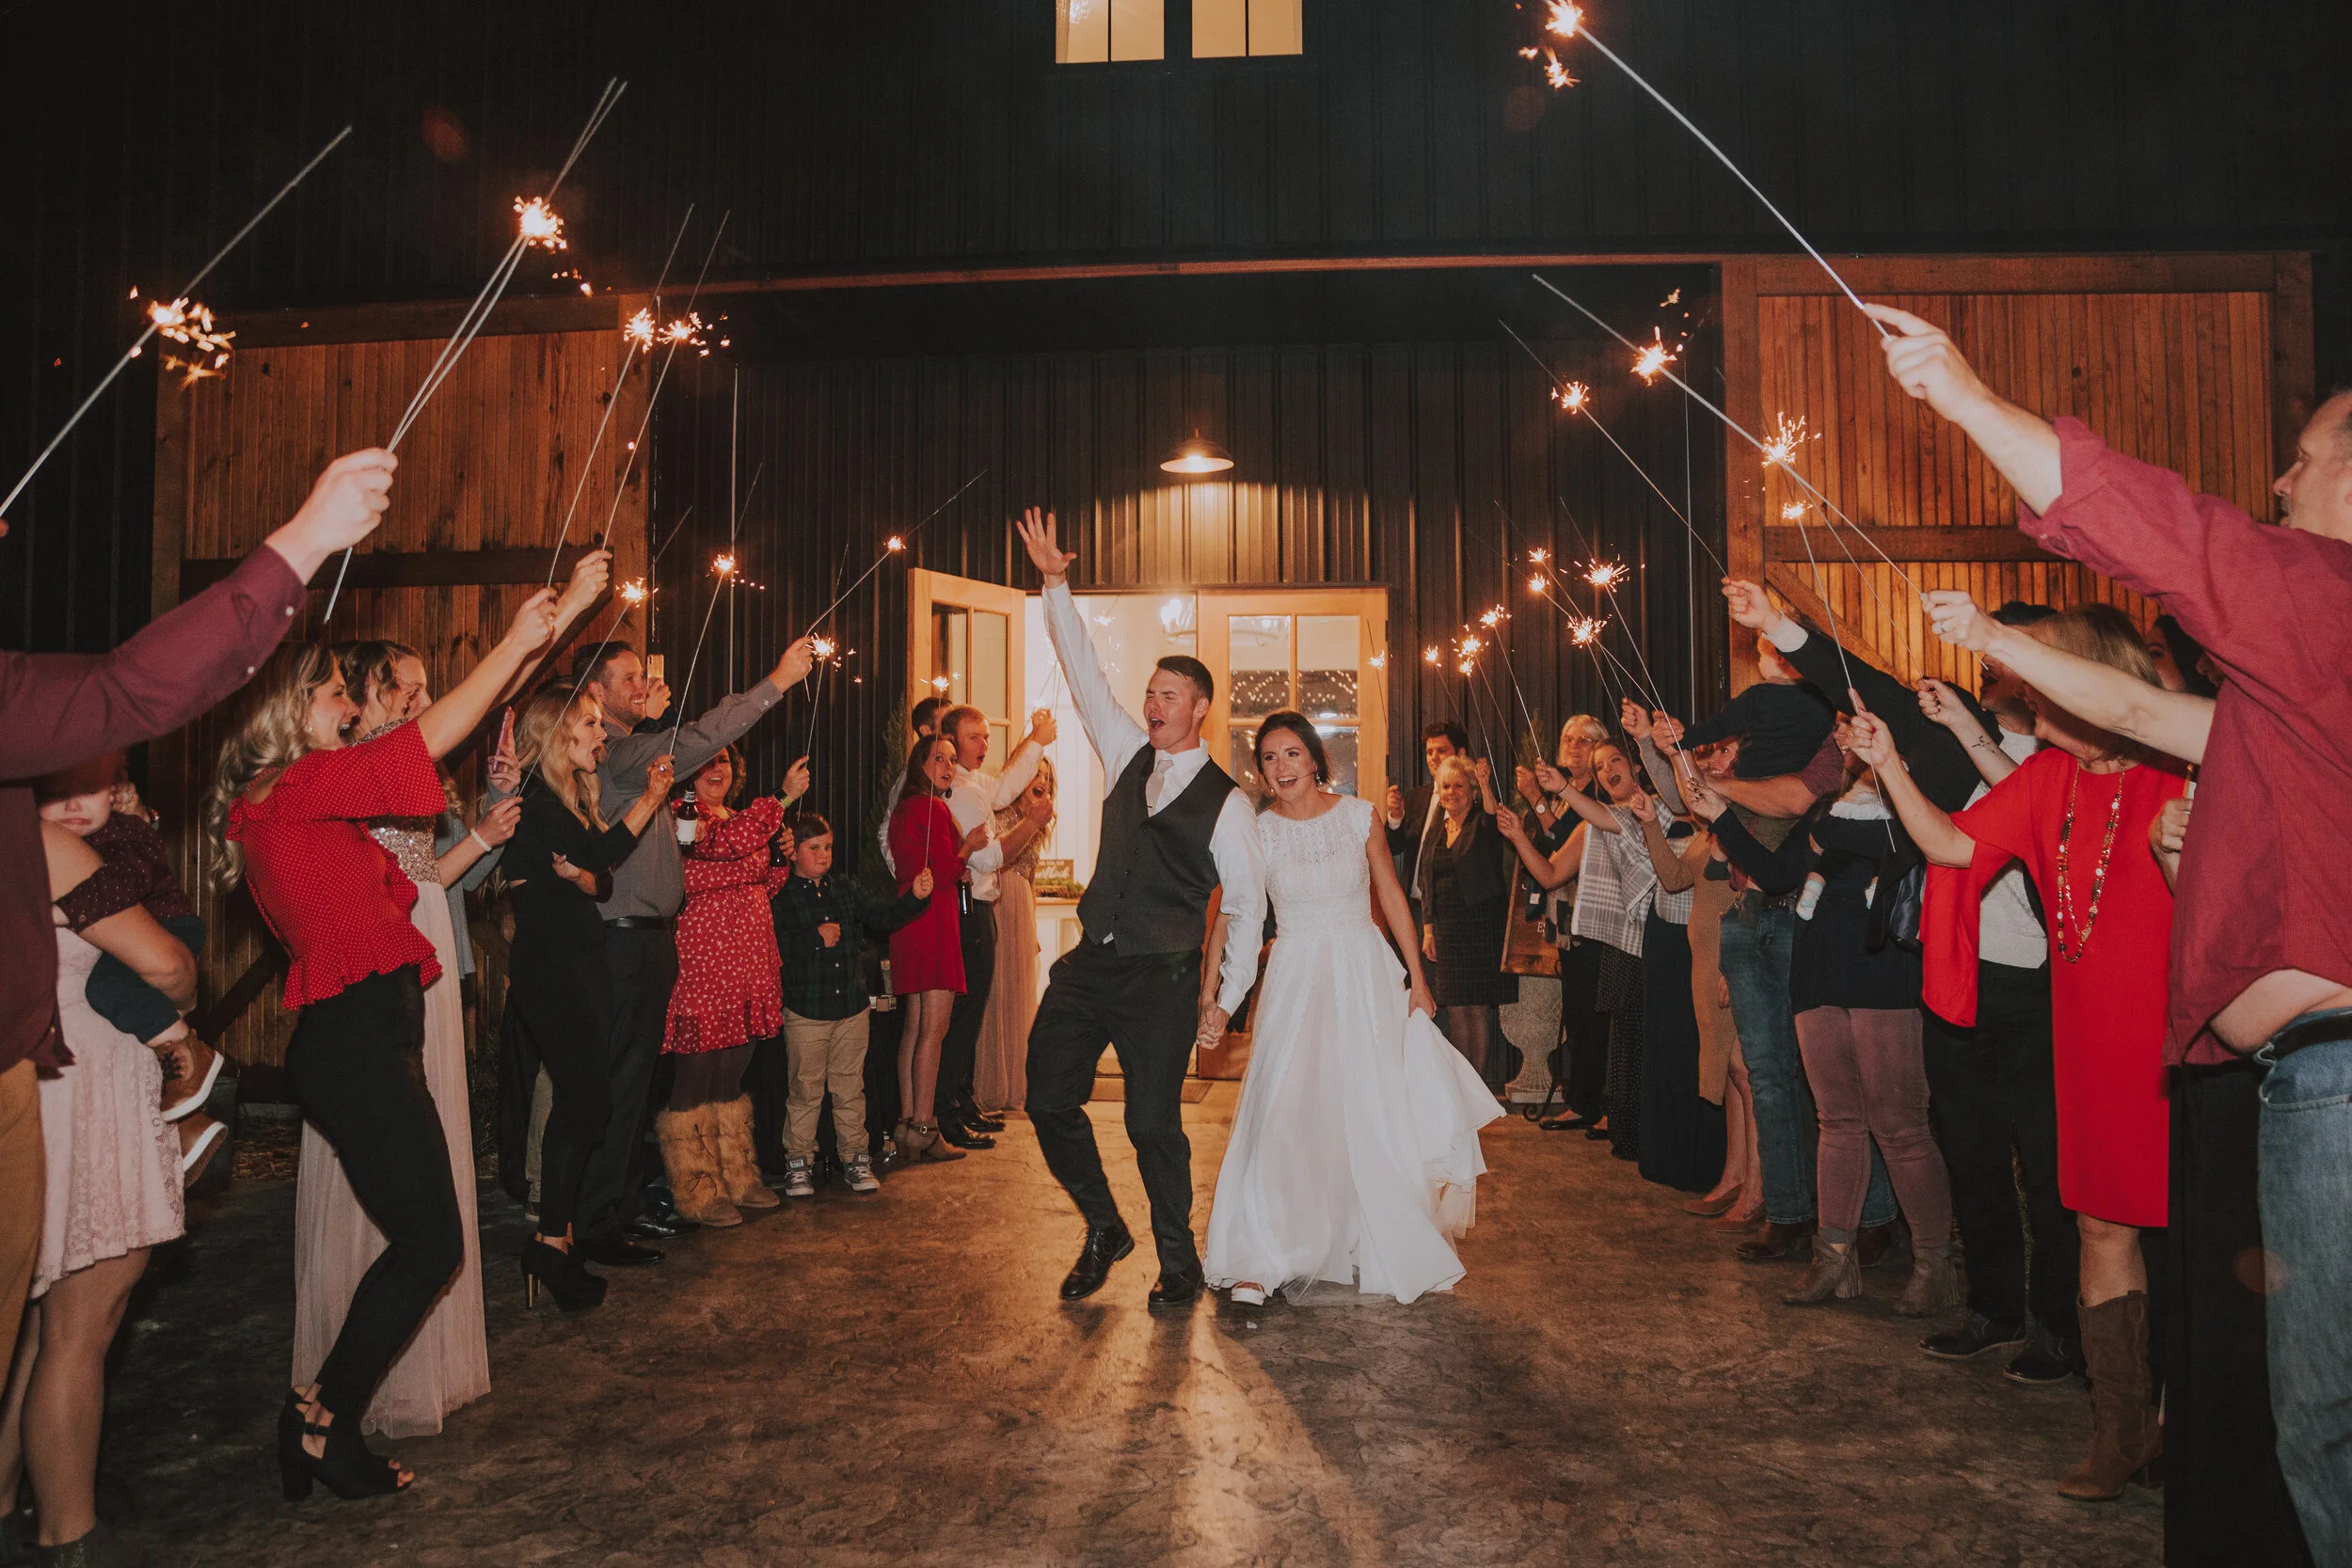
OPTION TWO: If it’s dark outside and your concerned about your photos being too grainy, introducing a speedlight is a GREAT OPTION! This is my go-to method because the results are always great and the photos are always SHARP and IN FOCUS, every time! Use a diffuser such as the MagMod or a soft box and point it directly at your subjects if you’re doing the sparkler exit outside. Practice your shot with your second shooter or a volunteer before the bride and groom exit. Be careful not to go CRAZY with bright light, and set your flash on the lowest possible light while still being able to focus. You can always bring up dark spots in post. The photos below were taken with a speedlight + soft box combo:

ISO 800, F Stop 2.0, Shutter Speed 160, Kelvin 6200

ISO 1250, F Stop 2.2, Shutter Speed 125, Kelvin 5800

ISO 1000, F Stop 2.8, Shutter Speed 125, Kelvin 6500

ISO 1000, F Stop 1.8, Shutter Speed 125, Kelvin 6000
ISO 600, F Stop 2.0, Shutter Speed 165, Kelvin 5000
Option Three- You can use an LED video light stand, or off camera flash (also known as OCF). This lighting lets you set your light in one general location (such as behind you) and allows you to fully illuminate the scene. This strategy works well if you’re working with a videographer, as there is no constant flashing involved with a LED video light.

LED Video Light- ISO 250, F Stop 1.8, Shutter Speed 125, Kelvin 6000
LAST TIP FOR PHOTOGRAPHERS: Educate your clients! Make sure they know what to do and what to expect during the process, before the wedding day and JUST BEFORE the actual exit. I always encourage my couples to hold hands, smile at each other, keep their heads up and to kiss midway down the line and at the end of the line. Then I ask them if they want to do it again! Communicating with your clients is always helpful and productive, and helps them feel more in control of the beautiful art you’re creating for them!
What do you think? Was this helpful! Are you planning a sparkler exit at your wedding? Share your ideas below!
Laura